
4. Installation
Assembly steps:
1. Removing the old ignition, wiring loom, horn casting, headset top and rear light internals.
2. Remove the magneto housing as this requires to be modified according to the attached drawing.
3. Modify the magneto housing, this is best done on a milling machine for DIY-ers. An off the shelf (OTS) option is available with a CNC machined Indian part. Please also note that the round exit hole for the loom from the mag flange will need to be squared out to accommodate the plug fitting and the cover plates and grommet need slotting to accept the harness.
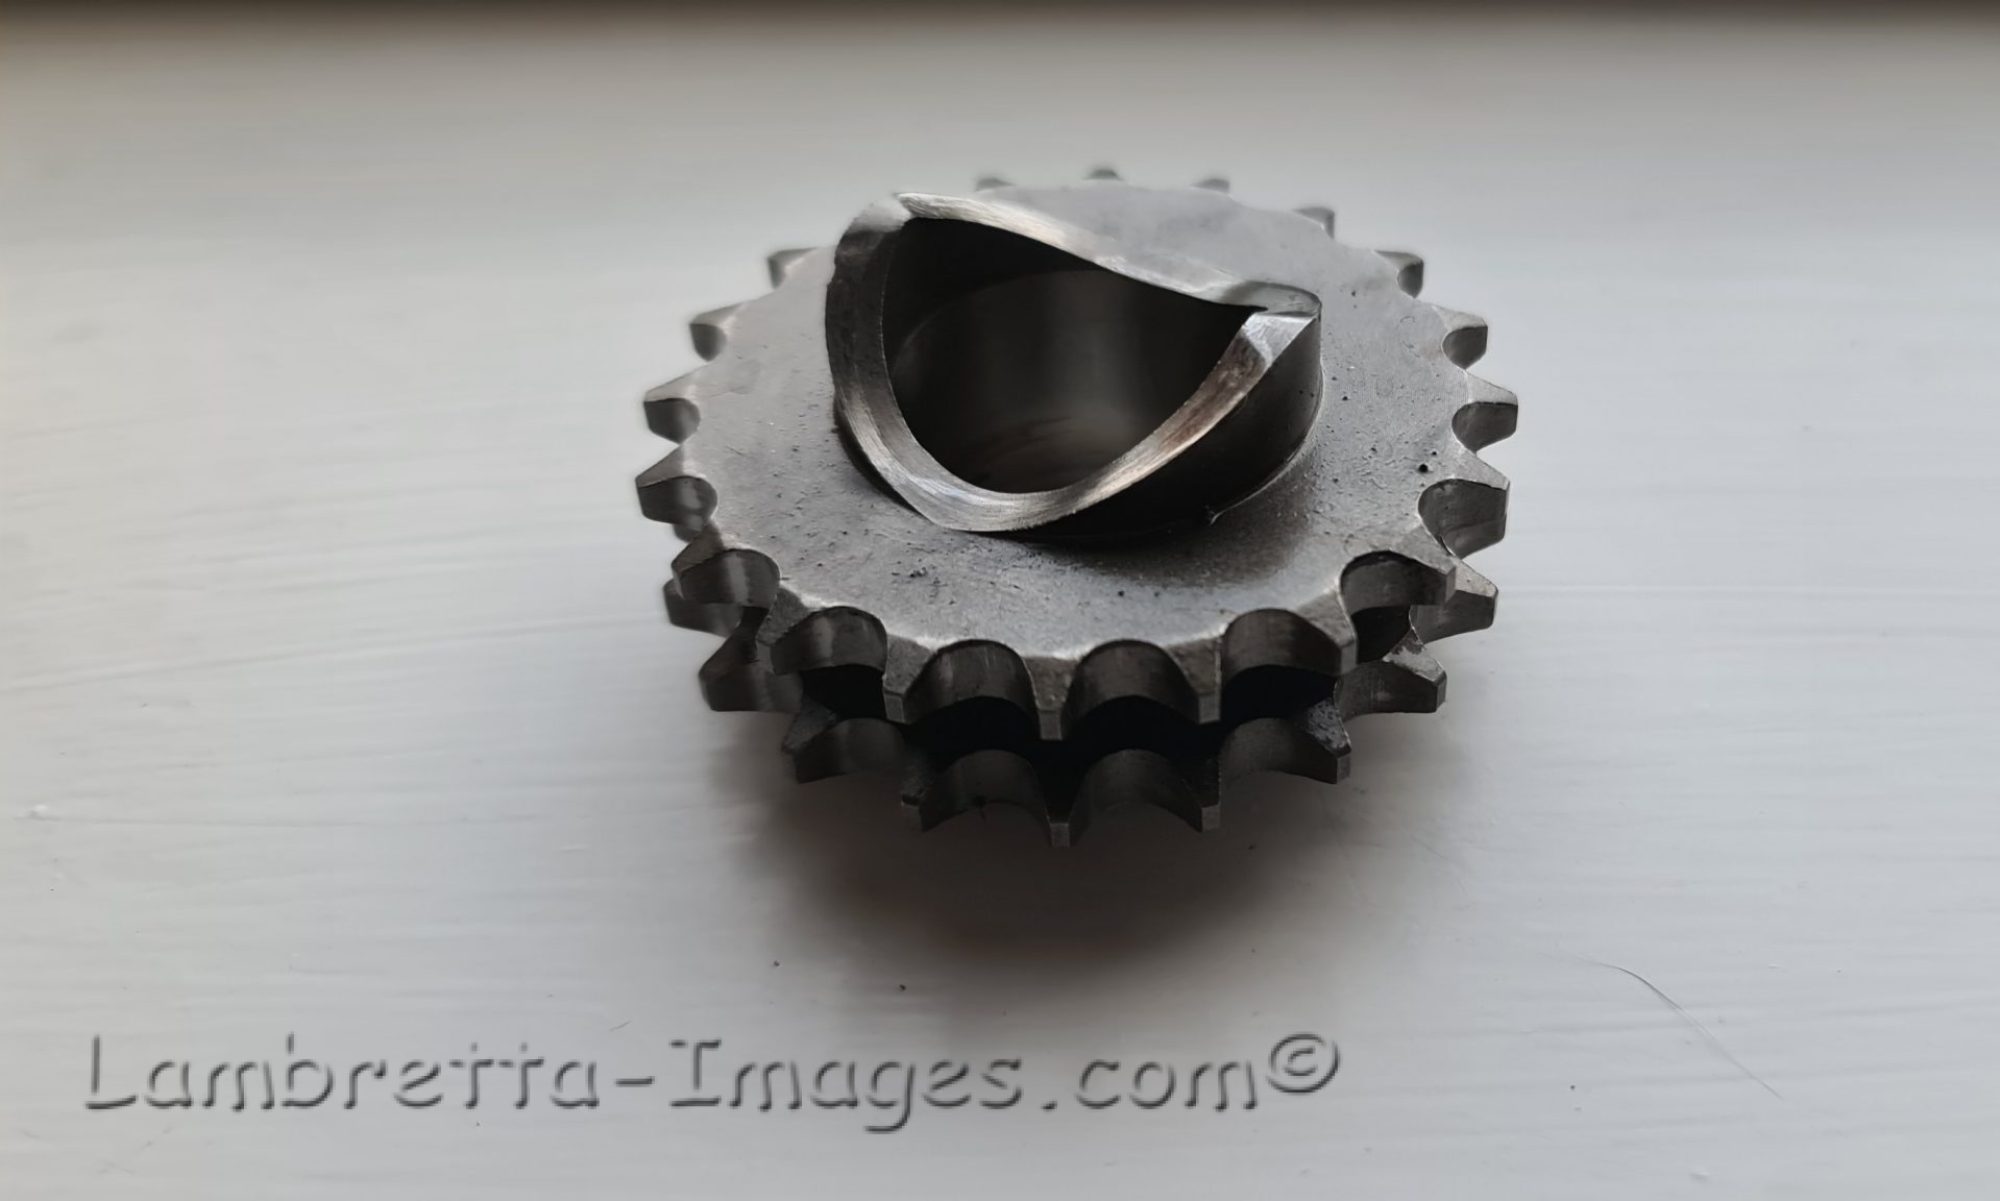
4. Modify the RS125 rotor according to the attached drawing. (OTS option available)
5. Clean and inspect all donor parts
6. Offer up and fit modified magneto housing.
7. Fix donor windings to new stator plate.
8. Offer up stator to the mag housing but do not fix yet.
9. Offer up and fix pick-up and pointer assembly to stator plate
10. Position and fix stator plate in place.
11. Tidy wiring route inside mag housing and secure with original clip method.
12. Offer up modified rotor to crank (OTS option available)
13. Fit spacer washer, flywheel nut and washer.
14. Turn over engine and check clearances.
15. Offer up and fix fan to rotor, use a soft locking compound on the threads. * read clearance notes*
16. Clean all the terminal pin connections to ensure electrical continuity.
17. Fit loom and fuses.
18. Wire in headset according to modification notes and test.
Clearance Note:
Lambretta engines and cranks have some manufacturing tolerances which need to be considered before you fasten the fan onto the flywheel. Differences in crank taper length and magneto flange dimensions can result in the back of the fan touching the soldered pick up contacts. If this is allowed to happen the ignition will either miss fire or not work as a dead short is created. When fitting the fan, check the clearance between the fan and the pickup solder is no less than 0.75mm. If there is a contact between the parts shim the fan out using a disc of plastic card sandwiched between the fan and the flywheel boss. Also check the fan to cowling clearance on the smaller Italian fan cowlings; this can be adjusted by elongating the cowling
fixing screw holes if the compounding of tolerances results in a contact between fan and cowling.
Modification details:
There are three components that require modification, the OEM rotor, the magneto housing and the wiring loom. Off the shelf options are available for all of these parts if you have the budget available. Additionally, there is a small stepped spacer that is available OTS or can be made to the drawing below.
Rotor modification:
Modification of the rotor requires the starter ring to be removed and a lathe to turn a new taper into the existing boss. To remove the starter ring use a small press, the steel ring falls away quite easily. The taper is more involved, for those with access to a lathe I strongly suggest machining your taper in a piece of scrap bar to test fit the taper angle before committing to the rotor. If you intend to modify your own rotor, a template for setting angle is provided below. Cut this template out and use it to set the lathe head stock angle. This process is far more accurate than using the degree line markings.
Go carefully, remember to de-bur the keyway at the end and achieve a nice fit by lapping in your new taper with some grinding paste on an old GP crank (use marking fluid to check taper fit). As a reference check, the gap between the crank web and the back edge of the flywheel should be between 57 – 58mm. This is a simple dimension check you can make while lapping. The diameter at the small end of the taper should be between 18.5 – 18.25mm There are several dimensions that compound together in this assembly and as parts are from different manufacturers care has to be taken to check the assembly clearances. The final clearance to check is the distance between the back of the fan and the top of the pickup. This must be no less than 0.75mm (ideally 1-1.5mm). In the event of taper and mag housing tolerances combining to make a small clearance. The gap can be adjusted by shimming the fan out.

Spacer:
GP crank tapers do vary slightly between manufacturers. This makes it difficult to predict exactly how the clearances will stack up in the assembly. As a precaution, a stepped spacer should be used to ensure that the flywheel is correctly fitted to the crank taper.

Magneto flange modification:
Modification to the mag flange requires the machining of a radial slot to the drawing below. This is best done with a milling machine and rotary table or dividing head. For those that do not buy off the shelf, final fit with the stator plate should be checked before fitting. The straight edge angles on this drawing are coincident with the centre of radius. With careful marking
and measuring this modification can be done with a drill and files but care is required to check the fit as you progress. Do not forget that the cable exit will also have to be enlarged to take the Aprilia 3 pin stator plug. If required, the resulting hole in the housing can be covered with a strip of inner tube rubber with a slit cut in for the pointer to protrude.

Wiring Harness:
There is a lot going on with the Aprilia OEM loom. Functionally, there are a lot of options to choose from, some you may want to keep and others you may want to discard. This makes it very complex to write down modification details for every combination of ancillary equipment. Making a tidy well-made loom is a very skilled job, making it look authentic in a Lambretta is even harder, don’t underestimate the thought, work hours, burnt fingers, soldering and crimping that is required.
Three “Off the shelf” loom specifications are offered made from new high performance thin wall 16.5 and 25amp cable, new sheathing and pin connections, ready to plug in and go (some exchange connectors required). Special Looms can be built to order but will carry surcharge for extra components, design and testing. Typically a special loom will have integrated relays for spots and air horns, 12VDC charging points for phones and Sat. Nav. and or a spur with connector for trailer electrics and lights. Prices for special looms on application Specification listed for standard looms below:
Restoration loom air cooled
For period appearance where only power for accessory lights and horns is required. Please specify colour (grey or Black) when ordering.
Features:
1. Air cooled application
2. Supplied ready to plug in (exchange connectors required)
3. Period looking loom
4. Lighting and stop lamp wiring
5. NO clock wiring
6. NO fuel level sensor wiring
7. NO water temp wiring
8. NO Rave unit wiring
Sprint loom air cooled
For non-power valve performance applications. Please specify colour (grey or Black) when ordering.
Features:
1. Air or water cooled application
2. Supplied ready to plug in (exchange connectors required)
3. Full instrument wiring
4. Lap counter wiring
5. Lighting and stop lamp wiring
6. Fuel level sensor wiring
7. Water temp wiring
8. NO Rave unit wiring
Full loom water cooled
All the bells and whistles. Please specify colour (grey or Black) when ordering.
Features:
1. Air or water cooled application
2. Supplied ready to plug in (exchange connectors required)
3. Full instrument wiring
4. Lap counter wiring
5. Lighting and stop lamp wiring
6. Fuel level sensor wiring
7. Water temp wiring
8. Rave unit wiring
Headset connections:
The most elegant solution for ignition control uses a Lambro 5 wire, 5 position ignition switch. Standard wiring is green = ignition power, Brown = horn, Grey = power, Purple = side lights, Orange = high/low beam. The wiring to the new loom is as below:
1. The 25amp green wire from the loom connects to the green from the ignition switch.
2. The 25amp red/orange loom wire (Power) connects to the grey (12VDC power in wire) on the ignition switch.
3. The Purple wire from the ignition switch powers the side lights
4. The Orange wire from the ignition switch powers the main lights
5. The Brown wire from the ignition switch can be run to the horn
6. The black wire from the loom (tail lights) connects to black as normal (or commons to the Purple and Orange).
Note: The principle advantage of this system in restoration and period bikes is the ability to run spot lights and Alpine horns. In order to achieve this safely the power MUST be switched via a relay NOT through the ignition switch and or the handle bar switch. If this is attempted, it may well result in melted wiring or even fire, spots and or horns require the correct use of a relay.
When switching high power with a relay the main load to the relay must be taken from the 25amp red/orange loom wire before the ignition switch (this prevents overloading the ignition switch with current). The energising coil for the relay should be run from a switch such as the horn or main beam, this prevents activation of high current accessories when the ignition is off.
Building looms from scratch:
Make no mistake; this is not an easy job. There is lots of cutting, soldering, sheathing and heat shrinking. If you get it wrong there is a good chance that it will catch fire as there is a lot of power on tap. Only attempt building a loom from scratch if you REALY know what you’re doing and you MUST protect the circuit with correctly rated fuses.
Prices and costing:
Below are the anticipated costings you would expect to see for building a whole system. Naturally, it is more expensive than an existing SIL ignition but has considerably more performance and is still cheaper than any other ignition system of comparable specification.
The list below itemises the breakdown of the components and estimated prices. You may do well on Ebay and snatch up some cheap parts, in which case your build will be considerably cheaper than the estimates.
The prices are broken down into three areas:
1. Machined and modified part prices based on off the shelf (OTS) or DIY build.
2. Estimated Ebay prices for donor components 3. Estimated complete build prices with loom specifications. This gives a very wide spread of pricing dependant on your ability or budget.
NOTE: These prices are outdated.


Mounting brackets:
A CNC machined and anodised mounting bracket set with SS fasteners is available, off the shelf, for the positioning of CDI, Rectifier and Coil. Please state Series 1, 2 or 3 when enquiring.
Looking good
Thanks 🙂